With the Import Tool, you can import data into the application using an Excel file (for example, a list of contacts or companies). The Import Tool helps reduce manual data entry and in some cases can be used instead of a custom data migration.
Note: Any user can be given the right to use the import tool via the settings in her user profile, as long as the application's license key includes those user seats. If it does not, contact your Inova administrator.
Also, while its use is not limited to administrator rights, in most cases the administrator controls access to and manages the use of the import tool, to maintain data quality. In some cases, users may inadvertently introduce duplicate list values, for example, by importing records where a list value is spelled slightly differently from what already exists in the application.
Open tool and create import template
Open the import tool by clicking the Import link in the main menu.
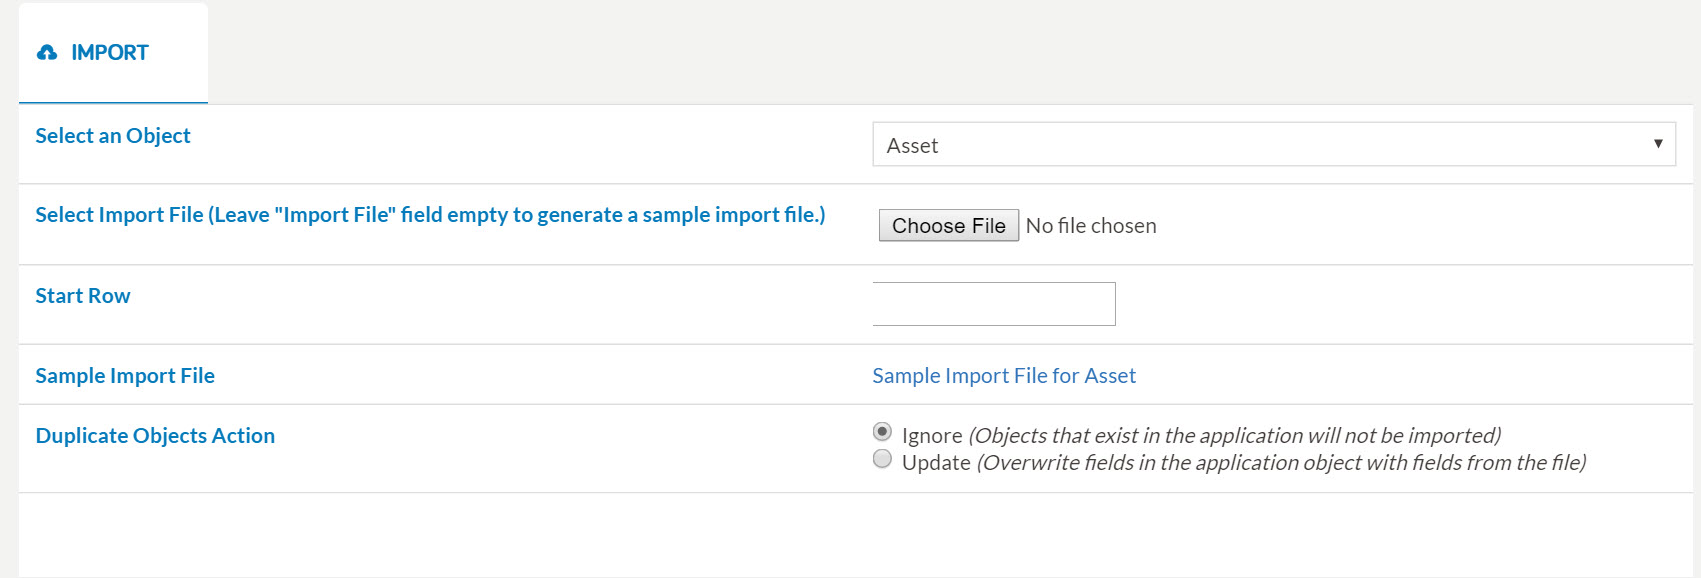
- Select an Object: With this option, the user selects the type of object that will be imported into the application.
- Select Import File: Click here to upload the file containing the data to be uploaded. To generate a blank template file for the data you want to import, leave this blank.
- Start Row: This is the first row in the spreadsheet whose data will be imported and used to create a new record in the application.
- When you click Process without selecting a file to upload, the Sample Import File link appears. Click this link to download the template to your machine.
- Duplicate Objects Action: Choose how the import tool will manage duplicates. A duplicate will be identified by the object name. If a duplicate is found, the tool can either:
- Ignore the object, meaning that row of data in the spreadsheet will not be imported
- Update the existing object, meaning that the data being imported will overwrite the existing record in the system
Prepare data for import
After step 4 above, copy and paste data from your current spreadsheet or other data source into the appropriate columns in the template.
Each column represents a field on that object. In the example below, the columns represent fields on the Asset object:

Required fields are marked with an asterisk. Row 3 contains a description of the data format that that column must follow (text, list value, etc).
Note that the import tool respects all data entry rules built into the application's form configuration. For example, if an asset is configured such that a company is a required field, then all imported assets must have some value in the Company column.
In the case of a configuration where the required field must be populated with a linked object such as a company, the companies in the company column have to already exist as company objects in the database. Depending upon these rules, you may be required to import data in a certain order, e.g. the companies list first, then the list of assets.
Once you have prepared your import file, navigate back to the import tool, upload the file (step #2 above) and click Process to import the data.
Error Messages
If the data entry rules are not respected or the data in your spreadsheet is not imported properly, the import tool will display an error message and specify the columns where there are issues.
You will need to update the import file and re-upload it. If you are having trouble getting the data prepared or experience these error messages repeatedly, contact your Inova Customer Success Manager.